Vintage Wooden Train Book Nook Kit: DIY 3D Puzzle
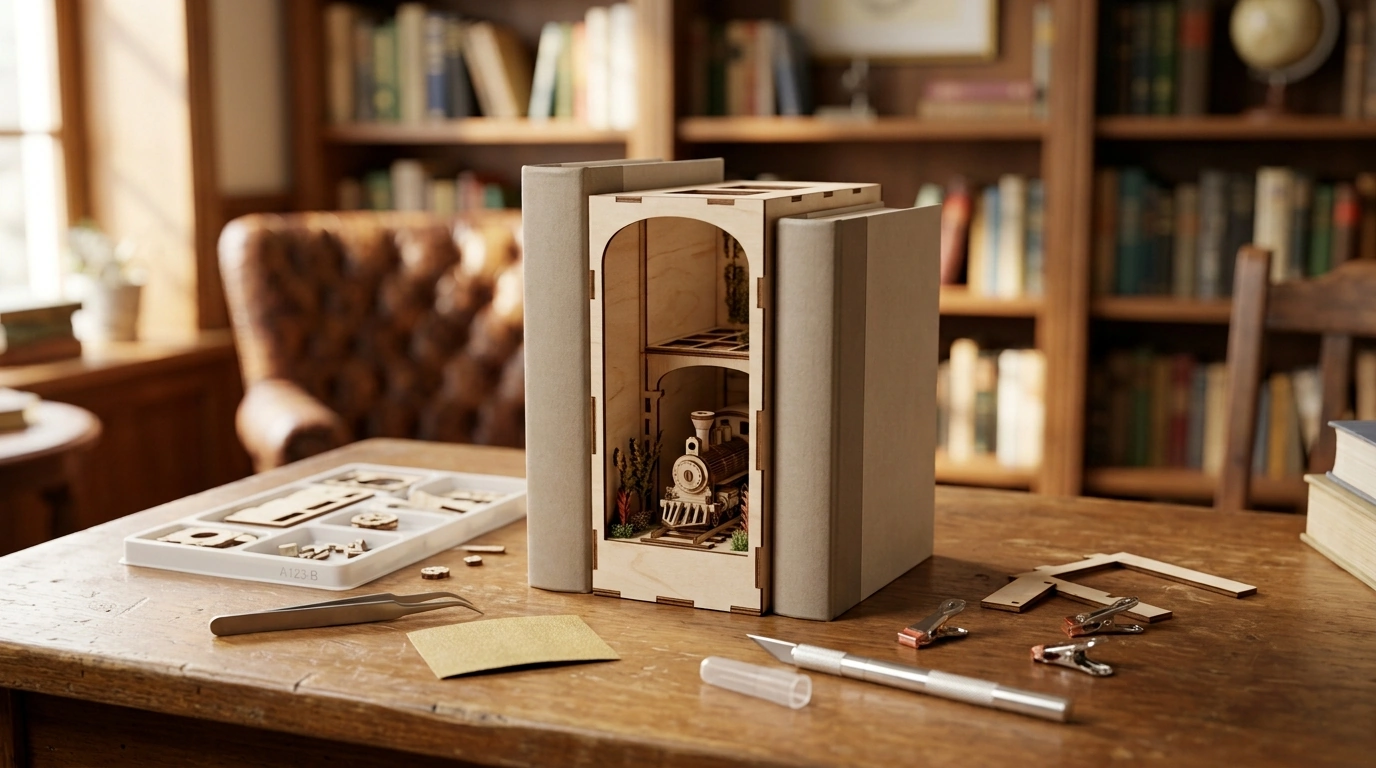
Vintage Wooden Train DIY Book Nook Kit – A 3D Puzzle Bookend for Adults & Teens
Turn an empty space on a shelf into a miniature railway scene with a vintage wooden train book nook. This DIY 3D puzzle bookend is designed for adults and teens who enjoy hands-on crafting, display pieces for bookcases, and relaxing build sessions that end in a functional décor accent. If you like the charm of classic locomotives and the satisfaction of assembling something precise, a train-themed book nook offers a rewarding build and a finished piece that looks right at home beside your favorite titles.
What a Train-Themed Book Nook Adds to a Shelf
- Creates a “window” effect between books, turning a standard shelf into a small diorama-like display.
- Works as a decorative bookend while also acting as a conversation piece for reading corners, desks, and study spaces.
- Blends well with vintage, industrial, cottage, and library-style décor thanks to the warm wood look and classic train motif.
- Makes a screen-free hobby option for evenings, weekends, or gifting occasions.
Model trains have a long history as a beloved hobby, in part because they combine storytelling, engineering, and nostalgia in one compact format. For a quick look at why miniature railways continue to resonate, see Smithsonian Magazine.
Who It’s Best For
- Adults who enjoy model kits, wooden puzzles, miniatures, or craft-based home décor.
- Teens looking for a challenging build that results in a display item rather than a disposable project.
- Book lovers who want shelf décor that matches literature, history, travel, or adventure themes.
- Gift buyers shopping for birthdays, holidays, graduations, or “new room / new desk” upgrades.
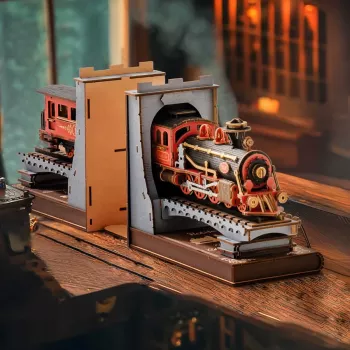
For a ready-to-build option, the Vintage Wooden Train DIY Book Nook Kit – 3D Puzzle Bookend for Adults & Teens is a shelf insert that’s meant to be both a build session and a lasting display.
Build Experience: What to Expect During Assembly
- A step-by-step build process that rewards patience: organizing parts, dry-fitting, then assembling in sequence.
- Best results come from working on a flat, well-lit surface and sorting pieces before starting.
- Fine-motor friendly activity that can be done solo or shared as a weekend project.
- Plan for breaks—miniature builds are more enjoyable when done in short, focused sessions.
If you’re building with a teen (or gifting to one), pairing the project with better work habits can make the experience smoother—especially when it comes to focus and step-by-step follow-through. A helpful add-on is the Study Skills Mastery Guide, which emphasizes practical routines that also translate well to careful hobby builds.
Tools, Setup, and Comfort Tips
- Useful extras: craft knife, tweezers, small file or sandpaper, and a small clamp or rubber bands for holding pieces in place.
- Use a tray or shallow box lid to prevent tiny parts from sliding away.
- Label sections of the instruction steps with sticky notes to keep progress clear.
- If building with teens, consider a quick safety check on sharp tools and adhesives (if applicable).
For the most enjoyable sessions, treat the build like a mini “workshop appointment”: clear the table, set a timer for 30–45 minutes, and stop at a logical checkpoint. If you like crafting as part of a wind-down routine, the Sleep Reset: Guided Audio Course for Restful Nights can pair nicely with evening hobby time—build first, then switch to guided relaxation.
How It Functions as a Bookend
- Adds visual weight and structure between book rows while keeping a decorative focal point centered on the shelf.
- Pairs well with hardcovers and collectibles; works as a divider between genres, series, or author collections.
- Looks especially striking when placed between darker spines, letting the wooden tones stand out.
- Can be styled with complementary accents: brass bookmarks, vintage postcards, or small desk lamps nearby.
While many book nooks are primarily decorative inserts, the real styling advantage is how they break up long, uniform rows of spines. For stability, place heavier books around it (rather than only paperbacks), keep the shelf level, and avoid squeezing the nook too tightly—leaving a bit of breathing room helps the “portal” effect read clearly.
Quick Specs and Display Guide
| Category | Recommendation | Notes |
|---|---|---|
| Build pace | Short sessions over 1–3 days | Helps keep steps organized and reduces mistakes |
| Workspace | Flat table + bright light | A desk lamp makes small parts easier to see |
| Skill level | Comfortable intermediate craft build | Patience and careful alignment improve results |
| Shelf styling | Place between book groups | Creates a “portal” effect and breaks up long rows |
| Gifting | Wrap with a note about display ideas | Include a small bookmark or bookplate for a themed touch |
Care, Cleaning, and Long-Term Display
Preventive care matters most for display pieces: reduce prolonged direct sun, keep dust low, and avoid extreme humidity swings. For broader best practices on caring for materials over time, the National Park Service shares conservation guidance and preventive-care principles that apply well to decorative objects on open shelving.
When This Makes a Great Gift
FAQ
Is this a good project for teens?
Yes. It’s best for teens who are comfortable following careful, step-by-step instructions, since smaller parts may require patience and steady hands. Depending on age and experience, brief supervision can help when using sharp tools or adhesives.
How long does it usually take to assemble a book nook kit like this?
Many builders finish in a few hours, while others prefer short sessions over a couple of days. Sorting pieces first and working under bright light usually speeds things up and reduces rework.
Does it work as a real bookend or mainly as décor?
It’s primarily a decorative shelf insert, but it can help visually separate sections and add structure between book groups. Stability depends on how tightly books are packed and how much weight sits on either side.









Leave a comment